You can have the sound of flowing water in your backyard without the hassle of maintaining a full pond. A pondless waterfall gives you all the beauty, soothing sounds, and visual drama, with none of the open water sitting around collecting debris and mosquitoes.
If you’re wondering how to build a pondless waterfall, you’re about to get the full picture, from planning and digging to picking the right pump and placing the finishing rocks.
We’ll cover the tools and materials you need, how the system actually works, and where most DIYers run into trouble.
What Is a Pondless Waterfall?

It’s a recirculating waterfall that sends all the water into a hidden underground reservoir rather than collecting in a visible pond.
The pump sits in a vault under that reservoir, constantly pulling water up through a pipe and sending it back to the top of the waterfall.
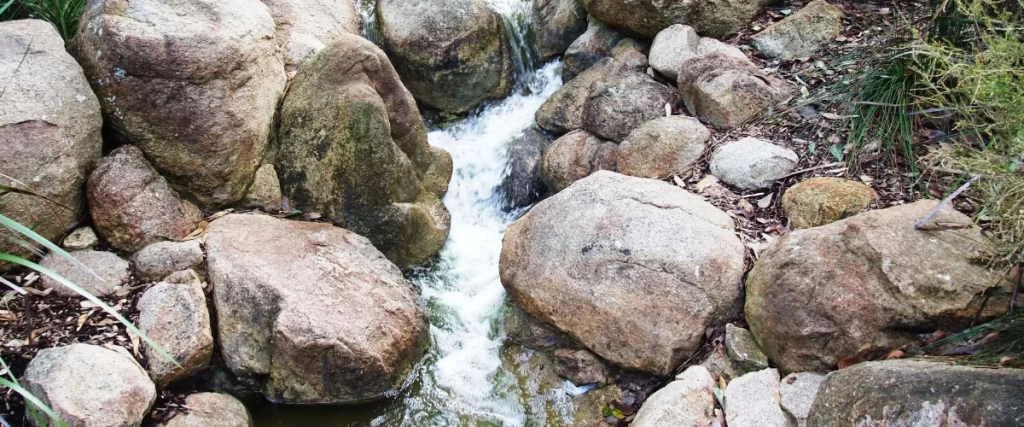
From the outside, it just looks like a beautiful stream of water cascading over rocks and disappearing naturally into the ground.
This makes it a fantastic water feature for yards with kids, pets, or anyone who wants low-maintenance landscaping.
Planning a Pondless Waterfall
Before you touch a shovel, spend time planning your layout.
Where will the waterfall sit? You want a spot that’s visible from inside the house or a patio, but also has a slight natural slope. Or, at least, enough room to create one with excavated soil.
A few things to nail down upfront:
- Water flow direction: Water needs to flow toward the basin, not away from it.
- Electricity access: Your pump needs power. Plan your conduit route before digging.
- Size: Small pondless waterfall setups can fit in tight spaces, but the basin still needs to hold enough water to keep the pump submerged during operation.
Also, check with your local water authority or municipality, since many areas have guidelines around water features and drainage.
The EPA’s WaterSense program offers resources on water-efficient landscaping. It’s worth a look if you’re planning a larger feature.
The Materials You’ll Need
Here’s a general breakdown of what goes into a typical build:
| Component | Purpose |
| Pond liner | Waterproof barrier for basin and stream bed |
| Underlayment | Protects the liner from punctures |
| Pump vault | Houses the pump underground |
| Submersible pump | Circulates water from the basin to the top |
| PVC pipe and fittings | Carries water up to the waterfall head |
| Boulders and gravel | Natural look, covers liner |
| Waterfall weir or spillway | Controls how water spreads as it falls |
You can buy pondless waterfall kits that bundle most of these components together. They’re great for first-timers because you know everything is sized to work together.
If you want to buy them separately, double-check that your pump, pipe diameter, and basin volume are compatible.
Digging the Basin
The basin is the heart of the whole system.
- Dig it deep enough to hold a significant water volume, typically 2 to 3 feet deep and wide enough to fit your pump vault with room around it for gravel.
- Line the bottom with a layer of sand, then lay the underlayment, and finally the pond liner.
- Set the pump vault in the middle of the basin. This is where your submersible pump will live. Make sure the vault lid sits at or just below ground level.
Smooth out wrinkles as you go, but don’t stress over every fold. The rocks and gravel will cover it eventually.
Building the Stream Bed and Waterfall
Run the liner from the basin up through the stream bed and all the way to the top of the waterfall. Overlap sections by at least 12 inches to prevent leaks.
Underlayment goes down first, then the liner.
Here are the basic steps:
- Shape the stream bed with gentle curves, flat sections, and small drops for visual interest.
- Lay liner and underlayment from the top down, working toward the basin.
- Connect your PVC pipe from the pump vault up to the waterfall head or weir at the top.
- Test the pipe connections before covering anything. Leaks are much easier to fix now.
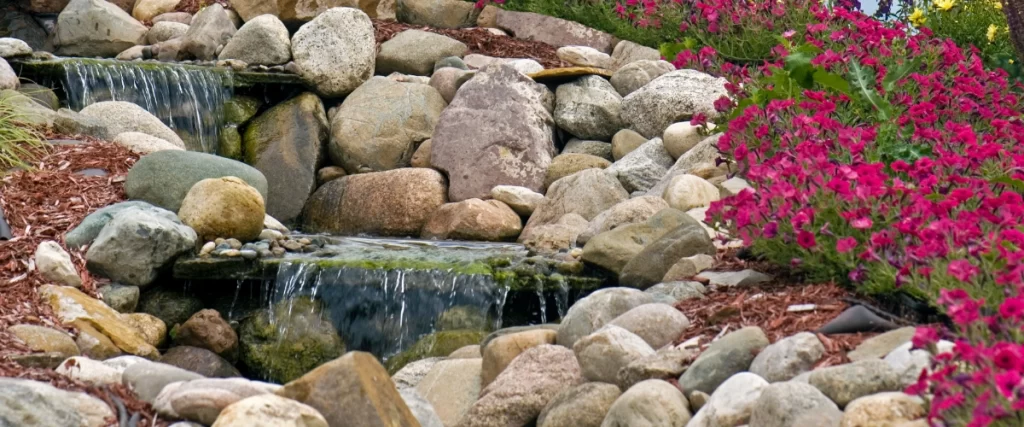
- Place your largest boulders first to anchor the look, then fill in with smaller rocks and gravel.
Trim excess liner once you’re happy with placement. Leave a few inches as a buffer, but clean edges look a lot better once the landscaping is finished around it.
Hooking Up the Pump
The pump sits inside the vault at the bottom of the basin.
Run the power cord through a conduit buried alongside the pipe, then connect it to a GFCI outlet. Never skip the GFCI protection near water.
Attach the outlet hose from the pump to your PVC pipe, secure all the fittings, and double-check everything before you fill the basin with gravel. Once gravel goes in, adjusting the pump is a real pain.
Fill the basin with water before turning anything on. The pump needs to be fully submerged to operate safely.
The First Run
Turn on the pump and watch where the water goes. Check for:
- Leaks at pipe connections or fittings
- Water escaping over the liner edges
- Uneven flow across the waterfall face
Small adjustments to rock placement can redirect water beautifully. This is actually the fun part, moving a stone here or there until the flow looks and sounds exactly how you imagined it.
For more guidance on water feature safety and installation standards, the American Society of Landscape Architects publishes resources that are helpful for homeowners tackling larger DIY landscaping projects.
Pondless Waterfall Maintenance: What to Expect
One of the biggest selling points of a pondless waterfall is very little maintenance compared to a traditional pond. No fish, no pond plants requiring care, no algae blooms in open water.
That said, you’ll want to:
- Top off the water level during hot, dry months due to evaporation
- Clear debris like leaves from the basin and stream bed each fall
- Check the pump filter a few times per year
- Inspect the liner edges after heavy rain or frost heaving
That’s genuinely it for most pondless waterfall setups.
Common Questions about Pondless Waterfalls
How much does it cost to build a pondless waterfall? DIY costs vary widely. A small setup with a basic kit can run $500 to $1,500. Larger, professionally built waterfalls with custom boulders and longer streams can reach $5,000 to $15,000 or more, depending on materials and labor.
Can aquatic plants grow in a pondless waterfall? You can tuck aquatic plants along the stream edges or in pockets of soil near the rocks, but since there’s no standing water, true aquatic plants won’t thrive. Moisture-loving plants like creeping jenny or cardinal flower work well along the edges.
Will a pondless waterfall attract wildlife? Yes. Birds especially love them. The moving water draws birds for drinking and bathing, which most homeowners consider a bonus.
How long does a pondless waterfall pump last? A quality submersible pump typically lasts 3 to 5 years with proper care. Running the pump dry, even briefly, can shorten its life significantly, so always keep the basin topped off.
Can I build a pondless waterfall on a flat yard? Yes, but you’ll need to build up the waterfall mound using excavated soil from the basin. It takes more planning, but plenty of beautiful waterfalls exist in flat yards.
Do pondless waterfalls work in winter? In mild climates, yes. In areas with hard freezes, most homeowners shut the system down for the winter and restart it in spring.
Maybe Skip the Shovel
Building a pondless waterfall yourself is genuinely doable, but it’s a weekend, maybe two, with a lot of physical digging, liner wrestling, and troubleshooting. Homeowners who want a more predictable installation process often choose to work with a landscaping professional to ensure proper grading, water flow, and long-term reliability.
If you get the slope wrong, water escapes. If the basin is undersized, the pump runs dry. If the liner has a pinhole somewhere under six inches of gravel, you’ve got a mystery on your hands.
Our team at Site Pros Landscaping designs and installs pondless waterfalls across Florida, and we know how to build a pondless waterfall that actually works the first time.
If you’d rather have a stunning focal point in your yard without the learning curve, call us at (407) 480-0713 or message us here.